
I love paneer – both as an ingredient in a dish, or a standalone snack – or even as a companion to wine. At some point I decided to make my own paneer. It proved easier that I thought, and the result was as good as any commercially available paneer if not better.
Ingredients and utensils:

I used the following ingredients (quantities may vary):
- Whole milk: about 3.3 liters / 0.9 gallons
- Lemons: at least 2, make sure you have 1 extra just in case (see Step 3)
- Beer (any type, any amount)
and the following utensils:
- A metal pot big enough to boil all that milk. A non-stick pot is preferable.
- A colander
- A cheesecloth
- Lemon squeezer
- A sieve for the lemon juice
- A stir paddle


Step 1. Juice the lemons and pour the beer
Pour the beer into a glass of your liking:

Cut each lemon in 2 halves:

Squeeze the lemons into a cup. Make sure the juice goes though a sieve – you don’t wand lemon seeds in your paneer:

Step 2: Bring the milk to boiling
Pour the milk into the pot and put it onto medium heat. Keep stirring it to avoid burning the bottom.

Have the colander ready: place it into the kitchen sink and cover it with clean cheesecloth:

Your goal is just to bring milk to boiling – not to boil it for an extended time – so be watchful – the boiling moment often comes unexpectedly. The whole thing might take 10-15 minutes.

In the mean time the beer level in the glass will be getting lower and lower, and you might need a refill. Don’t pour the beer into the milk – you’ll ruin both.
Step 3. Once the milk starts boiling, add the lemon juice
Once the milk is at the boiling point it will look something like this:

At this moment reduce the heat, pour the lemon juice into the milk and stir. The curd will start to separate from the water. In 10-15 seconds the separation will be over:

Note: if the separation does not occur then squeeze one more lemon into the milk (that’s why it’s good to have an extra lemon at hand)
Step 4. Pour the content into the colander
Take the pot and carefully pour its content into the colander:
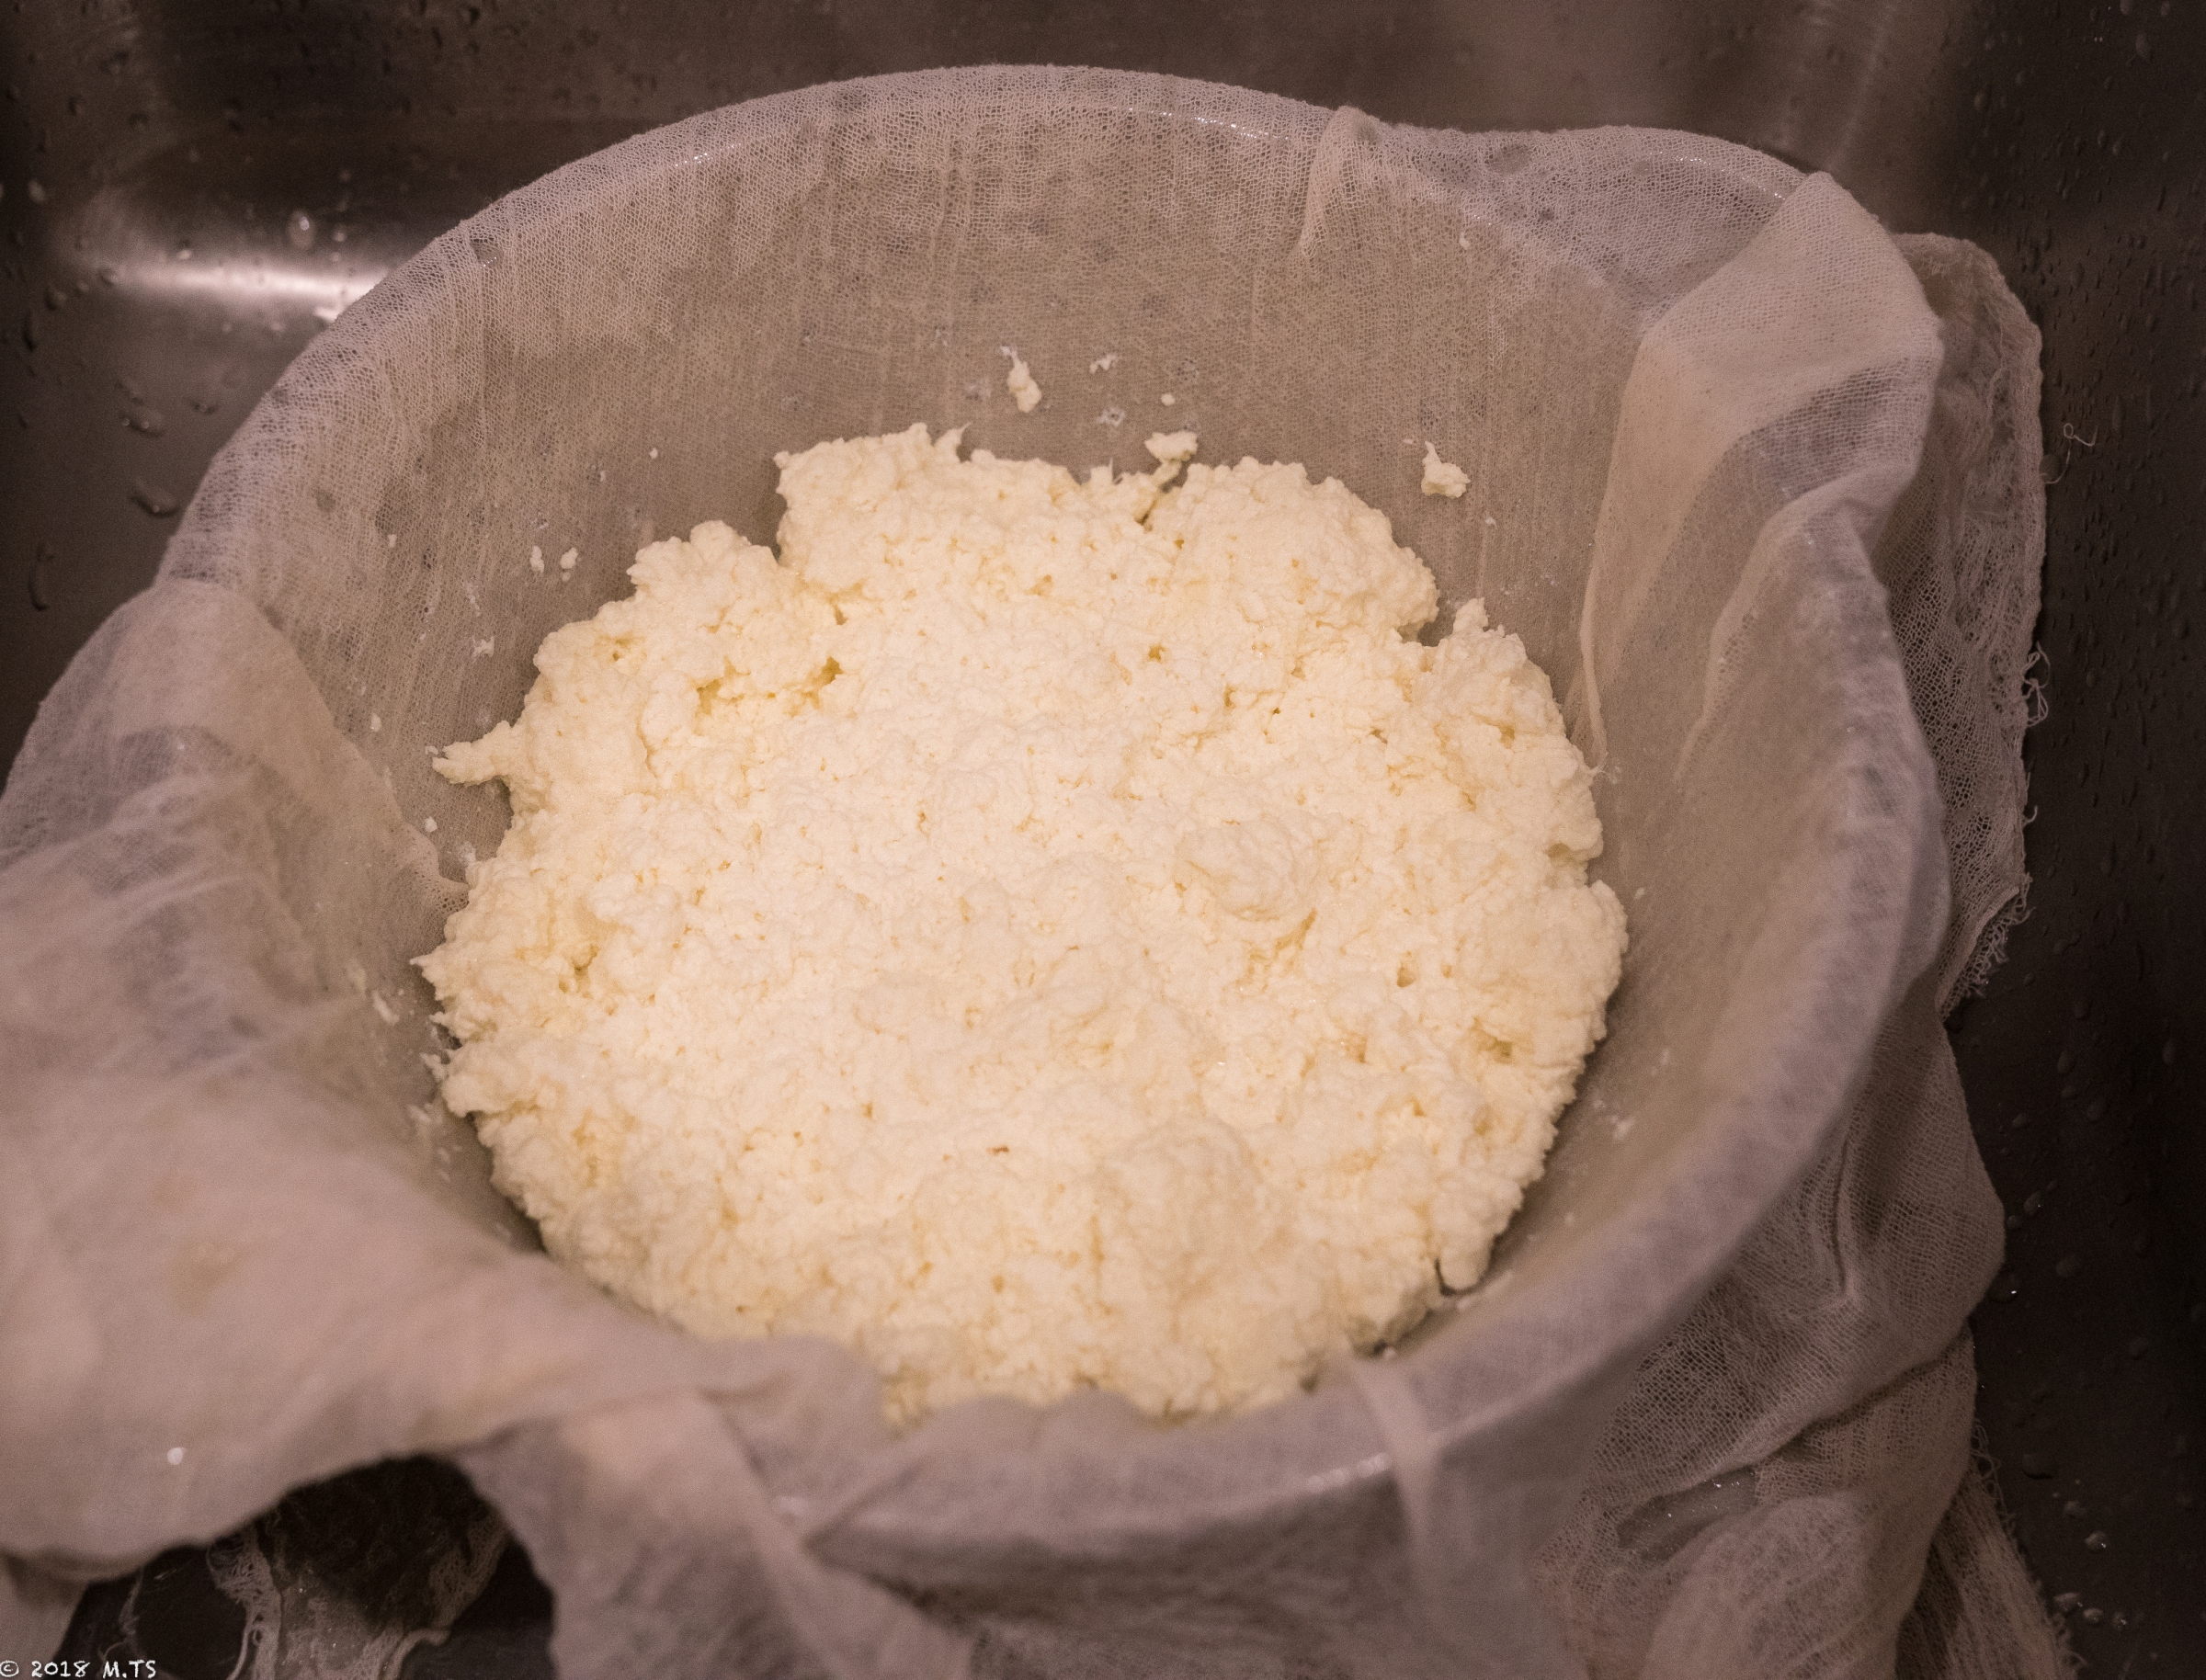
Then rinse it thoroughly with cold water to get rid of the remaining lemon juice.
Step 5. Hang it to drain
Grab the corners of the cheesecloth and tie them over the cheese. At this moment you can squeeze the ball of the cheese a bit by tightening the cloth, to to force some liquid out. Then hang it over your faucet and let it drain for 15-20 minutes:

Step 6: Flatten it and let it cool down
While still in the cheesecloth, take the cheese and out it on a plate or into a shallow pot, flatten it into a cylindrical block, put something moderately heavy (like another plate or pot) in the top of it and put it in the fridge for 30 minutes.
Then remove the cheesecloth and enjoy your homemade paneer.
Warning: if you want to make your own paneer, do it at your own risk. Know your food allergies. Ask your doctor if not sure. Be careful when handling the large pot with hot milk. If you never cooked before, start with something simpler.
